Dashboard Overview
The Meter Monitor dashboard allows operatives and service users to input meter readings
How to Get There?
To access the meter readings dashboard, you can use the icon:

Default View
By default, the dashboard will display the meters in the order of the site's default reading route. If one is not set, all points will be displayed - which is an option that is always available.
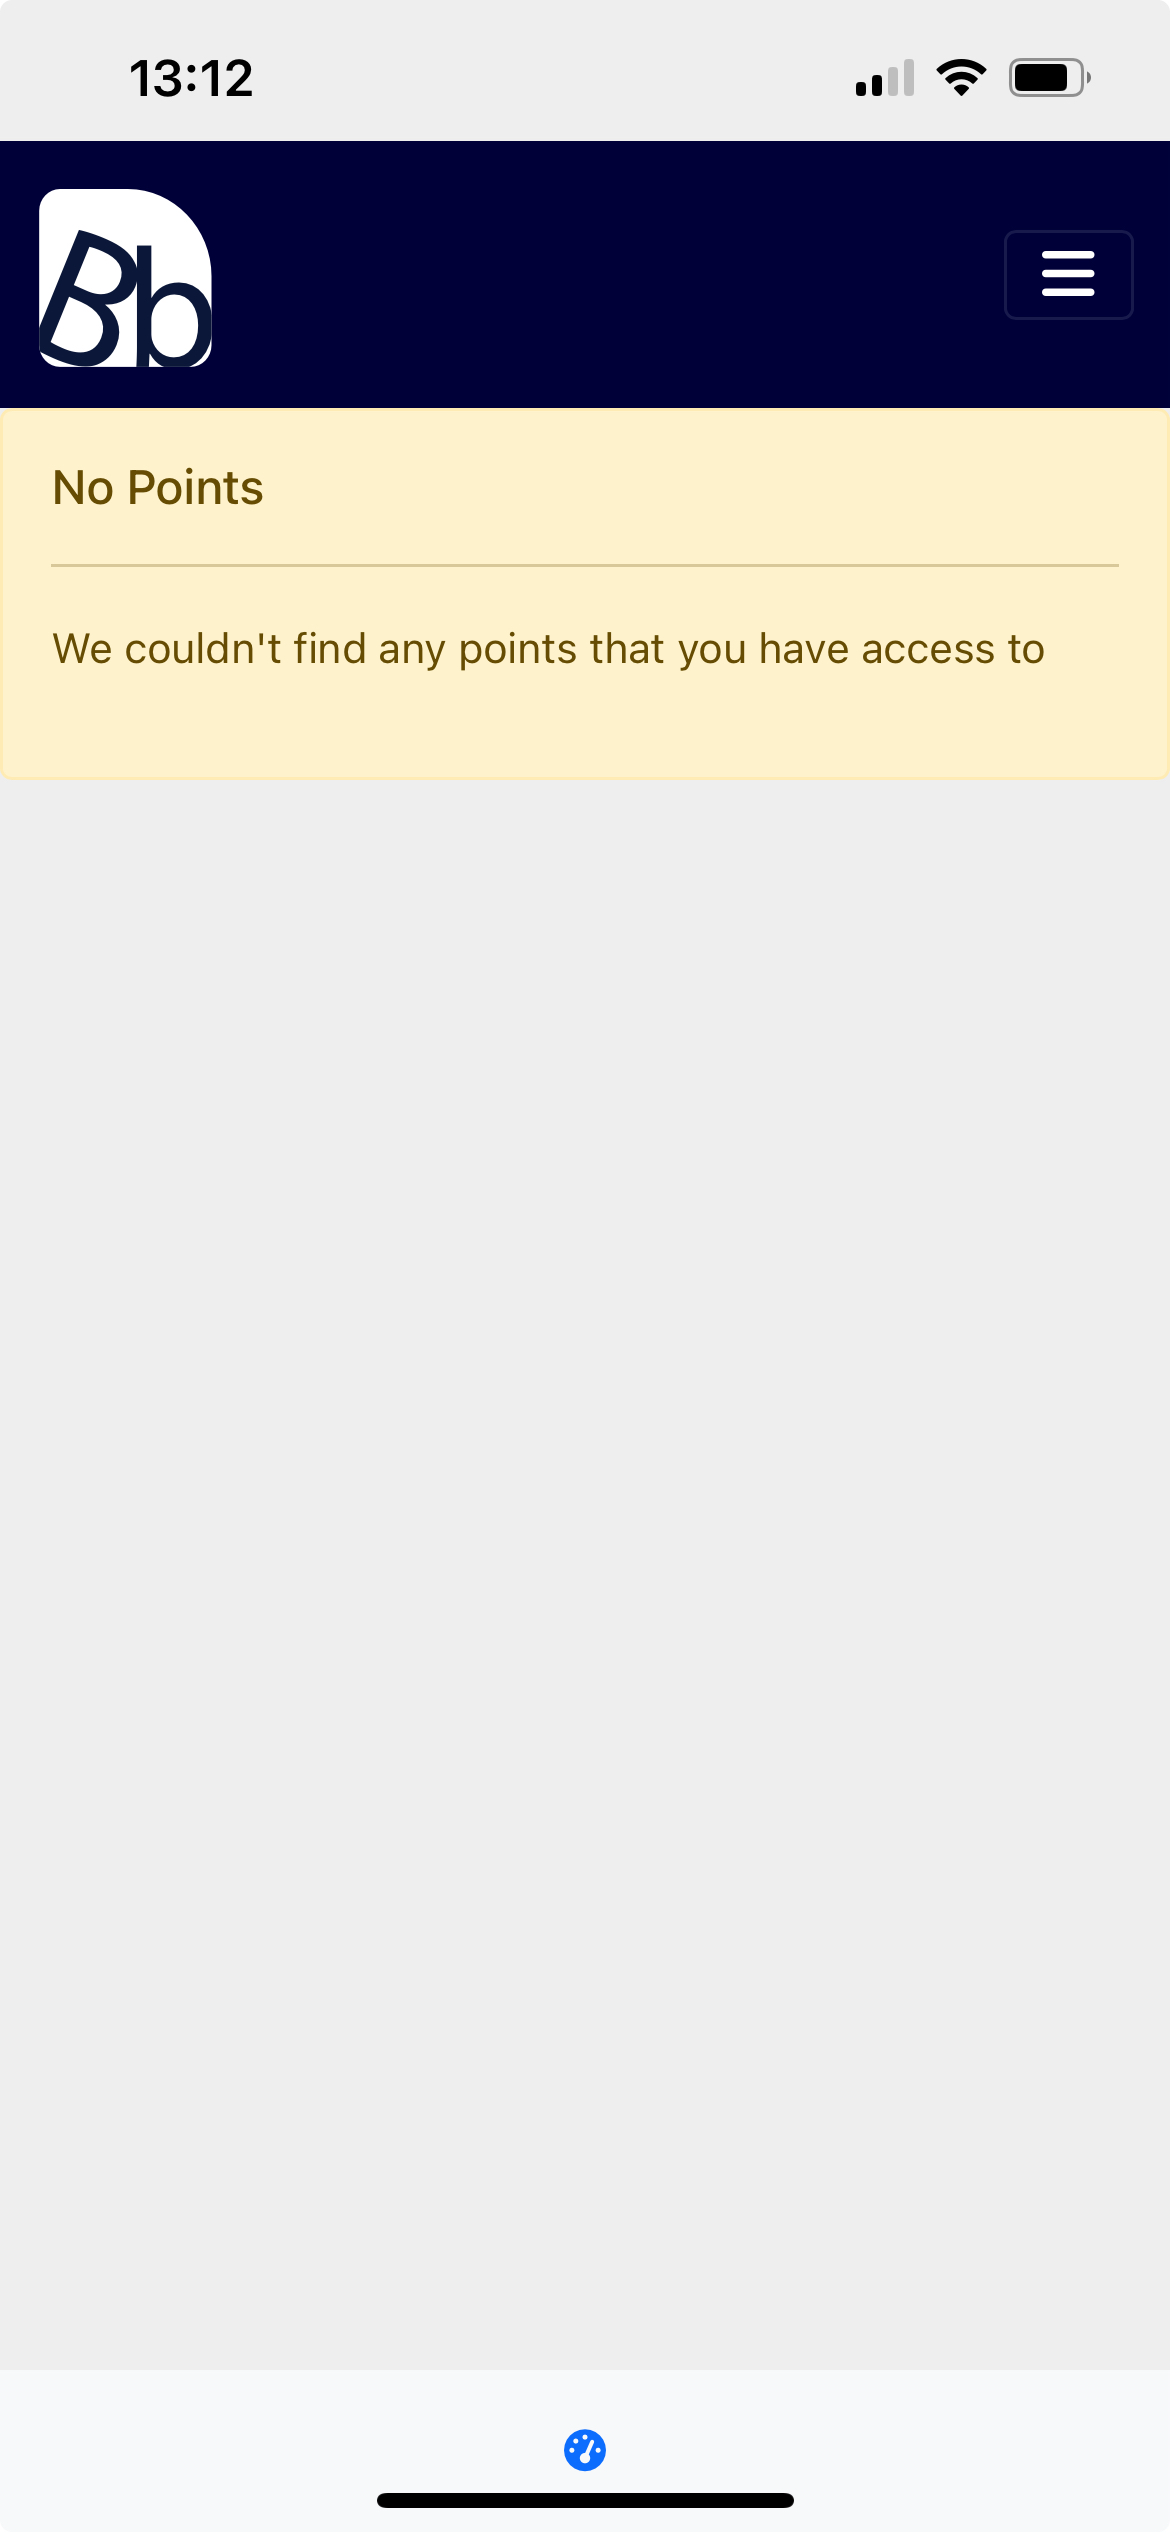
When No Meters Are Assigned
If there are no meters that have been assigned within the current route, a No Assigned Points message will be displayed:
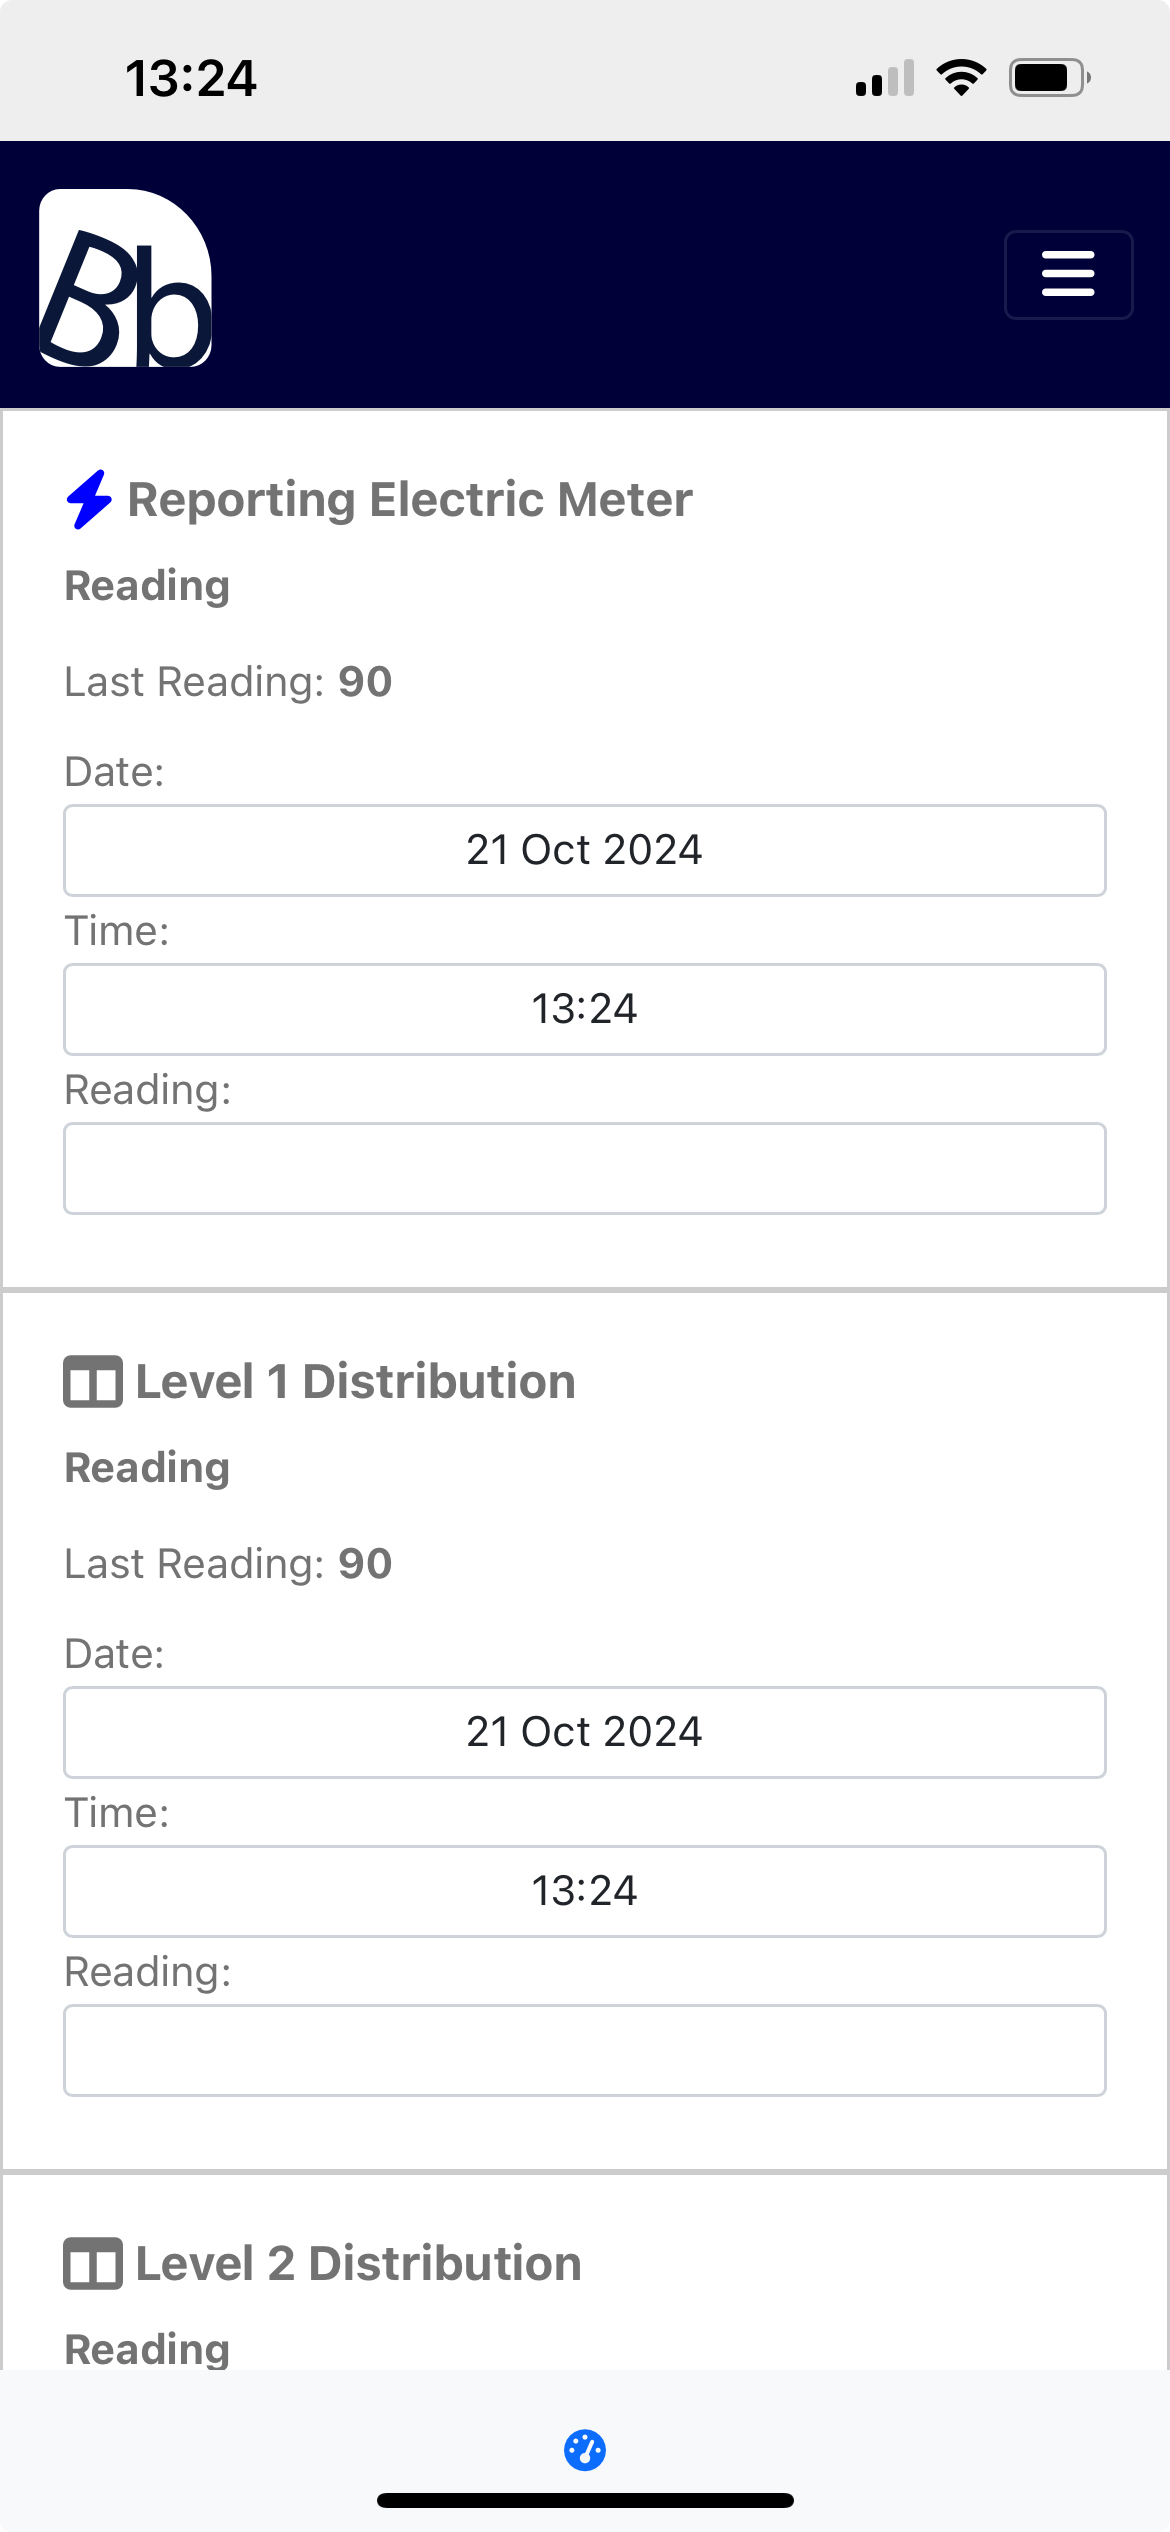
Populated Reading Dashboard
Once administrators have granted access to points/references for operatives, the dashboard will populate with the contents of the current reading route. The dashboard will be populated with Point Cards that allow operatives to specify the readings for each of a point's references:
What Makes Up a Point Card?
Each point card is made up of multiple components that provide operatives with both information about the point, and the functionality to specify its most recent reading:
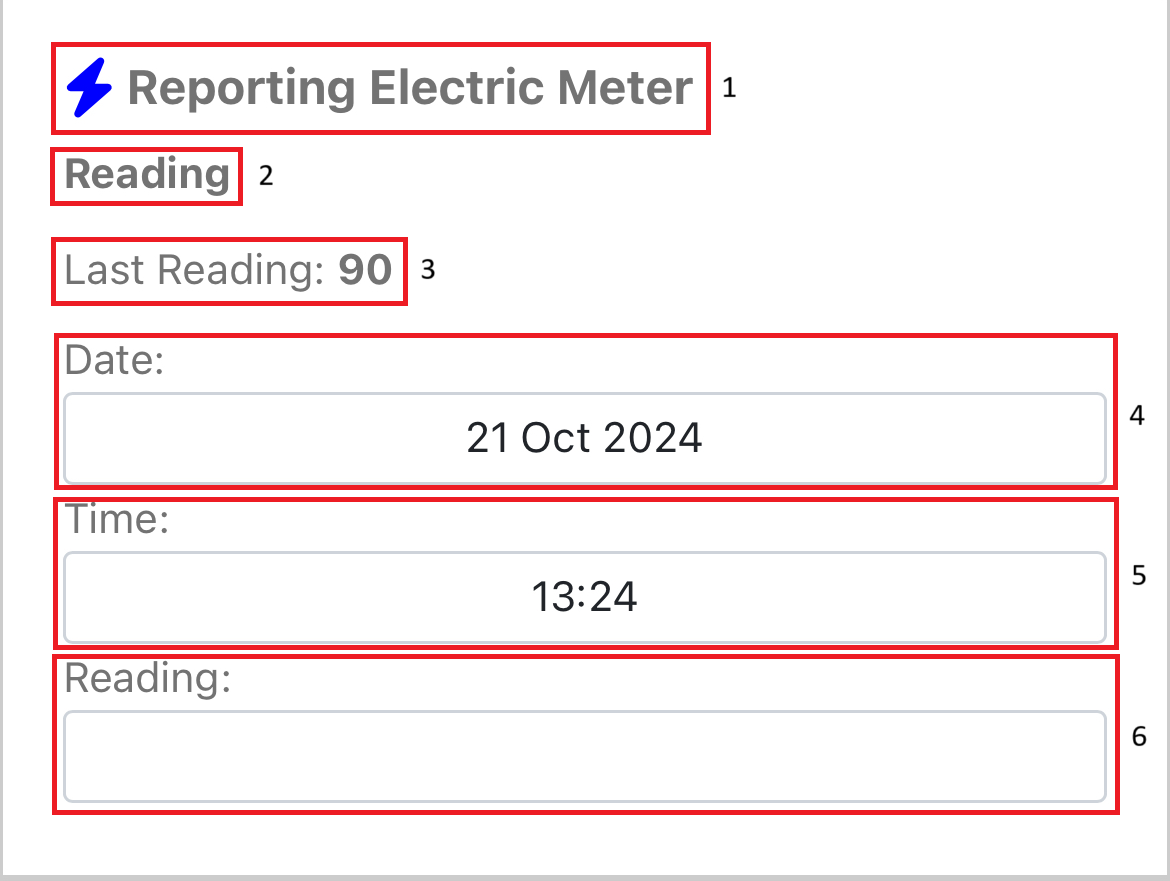
Here's what makes up the components of a card:
- Point Name: The name of the point as specified by the administrator within the building's hierarchy. As well as the name, the point's hierarchy icon (blue lightning bolt in example) is also displayed to give the operative an idea of the point's type
- Reference Name: The name of the reference the reading will be associated with. In the main, only one reference will be displayed, however, there may be more than one if the point supports day and night readings
- Last Recorded Reading: The value of the last reading taken against the reference (displayed in 2). This helps the operative have an idea if there are any discrepancies between the current value and previous. An NA is displayed if no readings has been taken
- Reading Date: The date the reading has been taken. This is defaulted to the date the dashboard is accessed
- Reading Time: The time the readings has been taken. This is defaulted to the time the dashboard is accessed
- Reading Value: The value of the physical meter to be stored against the reference
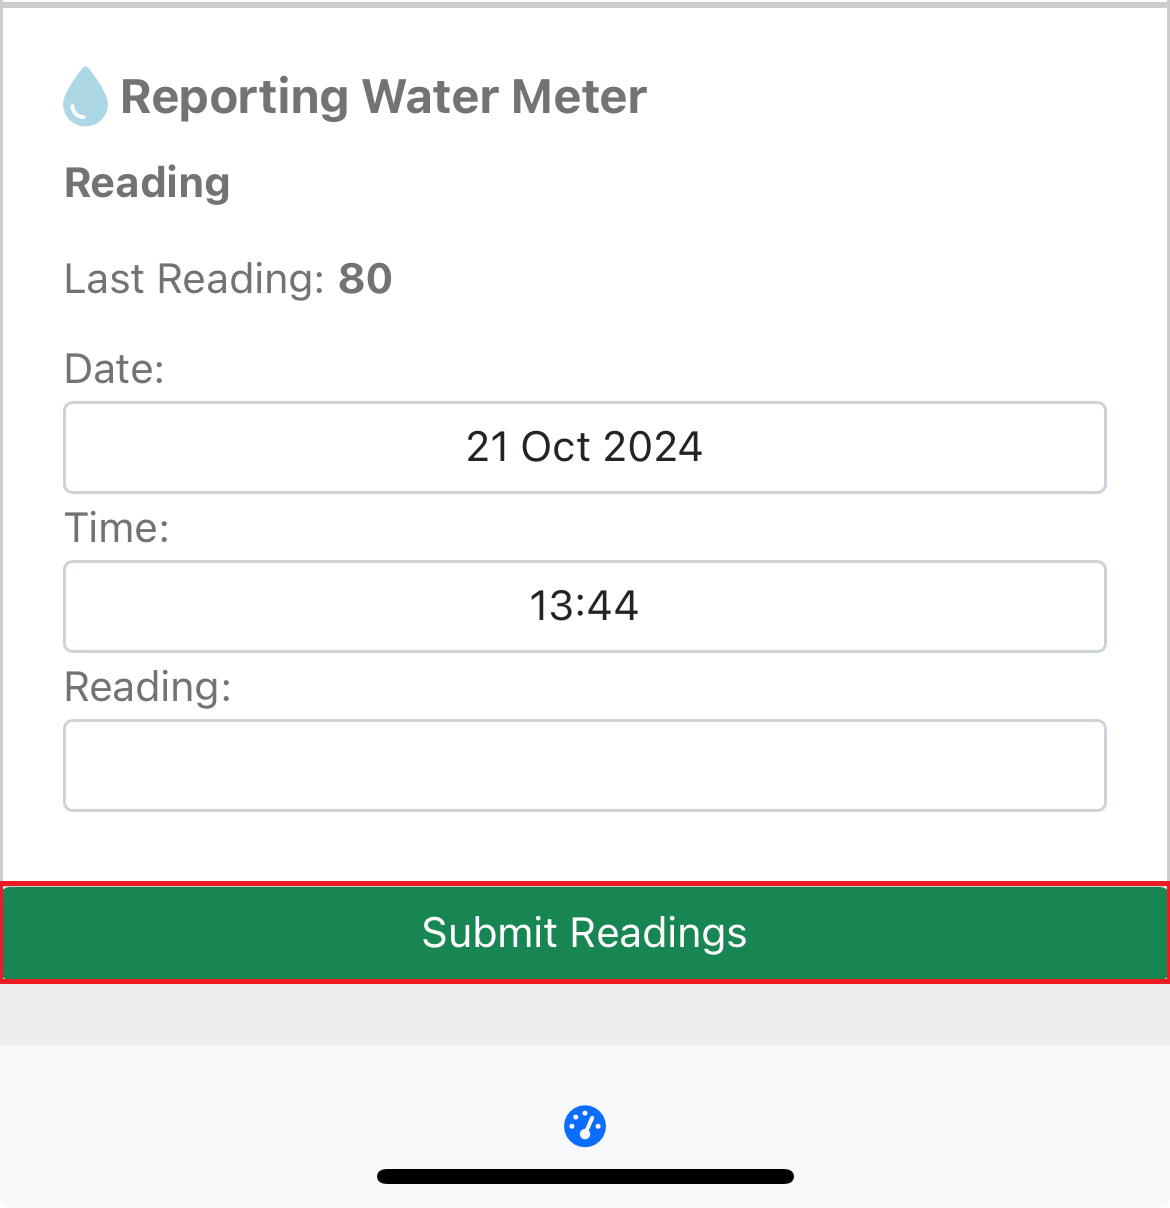
Saving Readings
Once an operative has entered their required readings, they can save/submit these by using the Submit Readings button at the bottom of the screen. Readings don't need to be submitted for all points in order to be saved.
No Readings Entered
If an operative has not entered a reading, they will receive the following message:
Readings Saved
When at least one valid reading has been entered, an operative will receive the following message:
